Configuring WiFi

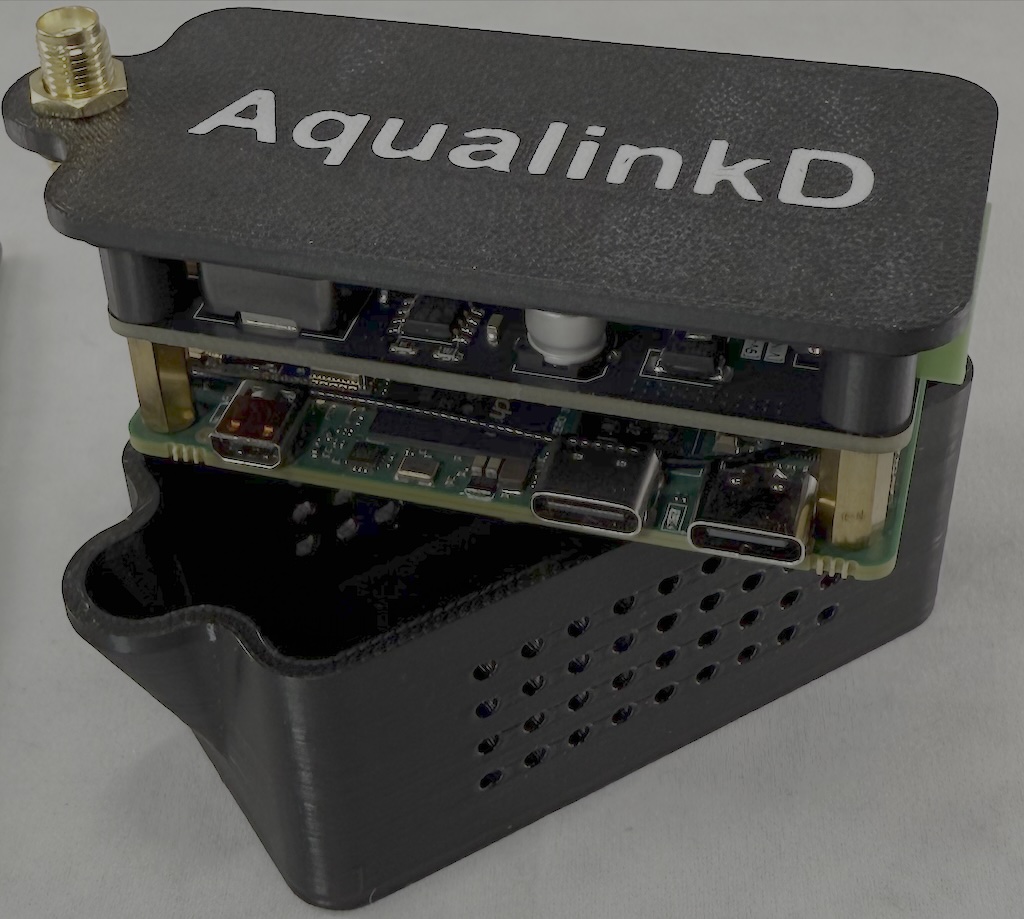
If you have bought the AqualinkD complete kit: This comes with everything you need pre built & installed, and is ready to go. You will however need to connect it to your WiFi!

Since this is a complete Linux computer, you will need some way to get your WiFi information on the device, This can be done in one of three ways :-


Connect a USB drive with WiFi information

You will need the following
  • USB stick or equivalent (ie CF card & CF card reader)
  • USB-C to USB adapter cable (One should be included in the kit)

AqualinkD kit's comes with software pre-installed that will detect a USB drive when it's inserted, mount it, look for WiFi configuration files, and when found create a WiFi connection.

Steps are as follows
  1. On a computer: Format your USB stick in exFAT or FAT32.
  2. Download file nmcli.conf and copy it to the USB stick.
    • Alternatively, create a plain text file on the USB stick called nmcli.conf (if using windows make sure .txt is not added to the file name)
  3. Contents of this file should be as below, change the values appropriately for your specific wifi settings
  4. SSID="YOUR_SSID" PASSWORD="YOUR_PASSWORD"

  5. It is important to only change the text inside the quotes YOUR_SSID and YOUR_PASSWORD
  6. Eject the USB stick from your computer
  7. Power up Radxa by connecting the RS485 cable and wait a minute for it to fully boot.
  8. Insert the USB stick (or USB-C to USB cable with USB stick attached) to the USB port on the side of the case
  9. Wait 10~20 seconds
  10. Remove the USB stick
If everything worked, your Radxa will now be connected to your wifi network.

The output of the wifi connection will be written to a file called auto-wifi-connect.log on the USB stick.
You can view that file for the IP address your router gave out. Or use your routers DHCP page to view the IP.
Also view this file for any errors IF the WiFi did not connect


Now please go to the below in a web browser to see AqualinkD

http://ip.address/ or if your device supports mDNS you can use http://aqualinkd.local


Connect a USB drive with WiFi information advanced WiFi settings

If option 1 does not work, or you have a custom / non-standard WiFi setup, you can use a more advanced configuration file. Steps are as follows
  1. Follow seteps in option 1, BUT use a different file for setep #2
  2. Download file nmconnection.conf and copy it to the USB stick.
  3. Modify the file to your specific setup. A good reference for this file is here

    [connection] id=preconfigured uuid=b2fc09db-af85-4ddd-aa07-a341f99fe10b type=wifi [wifi] mode=infrastructure ssid=YOUR_SSID <----- MUST CHANGE hidden=false [ipv4] method=auto [ipv6] addr-gen-mode=default method=auto [proxy] [wifi-security] key-mgmt=wpa-psk psk=YOUR_PASSWORD <----- MUST CHANGE

  4. Note the uuid is needed and is simply a unique identifier, you can leave it as is or create you own with cat /proc/sys/kernel/random/uuid


Radxa kit only - Connect a screen and keyboard

WARNING during these steps you may be using different cables & adapter it is VERY important to:

Never connect the Radxa to both USB power and RS485 power at the same time

You will need the following
  • USB Keyboard (USB-C or USB-C adapter)
  • HDMI Monitor and cable for Micro HDMI(Type-D) to Monitor
  Steps are same as any Linux computer.
  1. Remove the Radxa & HAT from the case details here
  2. Connect Screen and keyboard to Radxa
  3. Power up Radxa
    • You can use either RS485 OR USB-C to power the board but NEVER both!
    • See Connector information for USB port to use
  4. Login to machine (Default user/password is radxa radxa)
  5. Run nmcli to list WiFi connection then again to connect
    • sudo nmcli radio wifi on
    • sudo nmcli device wifi list
      • Make sure your WiFi network is listed.
    • sudo nmcli device wifi connect "YOUR_SSID" --ask

Radxa-Zero3

~ $ sudo nmcli radio wifi on

~ $ sudo nmcli device wifi list

IN-USE BSSID SSID MODE CHAN RATE SIGNAL BARS SECURITY

7A:81:C2:BC:80:79 YOUR_SSID Infra 36 270 Mbit/s 100 ▂▄▆█ WPA2

40:EE:00:17:15:E4 another_ssid Infra 6 270 Mbit/s 19 ▂___ WPA2

~ $

~ $ sudo nmcli device wifi connect "YOUR_SSID" --ask

~ $ Password:


Connect a USB 2 Ethernet adapter and plug it into your network

Radxa kit

You will need the following
  • USB to Ethernet adapter
  • Ethernet cable
  • Computer with a SSH tool
  1. Remove the Radxa & HAT from the case details here
  2. Connect the USB to Ethernet adapter to the Radxa
  3. Power up Radxa
    • You can use either RS485 OR USB-C to power the board but NEVER both!
    • See Connector information for USB port to use
  4. Find the IP address of the radxa from your router (hostname will be aqualinkd)
  5. Use your SSH tool to SSH to the Radxa IP. Login with user / password
  6. Follow the
    nmcli
    commands listed in Connect a screen and keyboard to the Radxa

Raspberry Compute Module kit

You will need the following
  • USB to Ethernet adapter
  • Ethernet cable
  • Computer with a SSH tool
  • A way to power the CM-kit if you can't use RS485 connection. Any 9v to 21v DC PSU will work.
  1. Connect the USB to Ethernet adapter to the Compute Module
  2. Power up Compute Module, connect power to the + and - on the green terminal block
  3. Find the IP address of the AqualinkD compute module from your router (hostname will be aqualinkd)
  4. Use your SSH tool to SSH to the compute module IP. Login with user / password
  5. Follow the
    nmcli
    commands listed in Connect a screen and keyboard to the Radxa
 

Removing the Radxa from the case

You will need the following
  • Small phillips screwdiver

Steps
  1. Remove 4 screws from underside of the case.
  2. Carefully lift up on case top to remove Radxa & HAT
 

Radxa Board Layout / USB Ports


Notes on ports
  • When connecting any USB device (like USB stick / Ethernet Adapter / KEyboard, you can ONLY use the port labeled "USB 3.0 Host Type C port"
  • You can power the Radxa through the port labeled "USB 2.0 OTG Type C port". NEVER power the board while the RS486 HAT is also connected to the panel